
Are you looking to create a call to action button on your WordPress site? A simple button provides you with great help on your post and pages.
You would have seen a button on many WordPress sites where clicking it performs some action. Many WordPress sites have different types of buttons performing different actions. You can design or add any type of button for your site.
Buttons are a great way to boost trust and conversions to generate income for your site. For instance, you can create a button to navigate a user from one page to another or you can add a button to redirect a user to payment mode.
In this article, I will show you how you can create a call to action button on your WordPress post and pages. You can create a button in 3 easy steps. Furthermore, I will mention where you can add a button and why it is necessary to create a call to action button on your WordPress site.
What is the Call To Action button?
A call to action button is when you click it performs some action by redirecting your users to a specific page. It guides users to navigate from one webpage to another. You can create your own button in different styles to attract users and encourage them to click on the button.
Some of the examples that you can find having CTA buttons are:
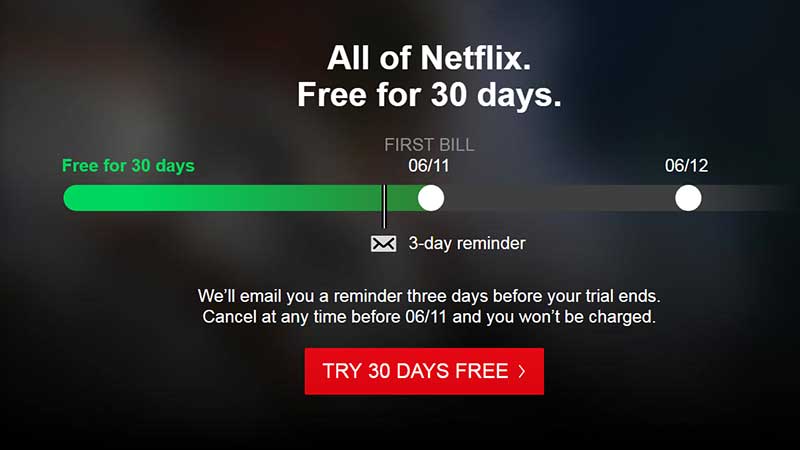
- Start Your Free Trial Now
- Subscribe to our Newsletter
- Register to Shop
- Buy Now or Add to Cart
- Request a Quote
- Download
- Learn more
Why it is necessary using on WordPress?
So, why it is really needed for your website. You can add links instead of having buttons right? The thing is you have an attractive button like adding icons, buttons in different shapes and sizes, and many more. You can add a button on any location of your website and it gives a meaningful purpose to your website.
Let’s check out some of the advantages of why it is necessary for your website.
- You can make the CTA button large enough so that any users can see it at first glance.
- You can change the color and add stylish icons to attract users.
- By adding an icon gives a meaningful purpose as to what the button is for.
- For website owners, you can promote any offers, send newsletters by email, download an e-book, and many more.
- Users, they can click on the button and buy a product, communicate with the site owner, and many more. They will know what to do next after going to your site or else they will leave the webpage without knowing what to do next.
Where to add a CTA?
Many of you don’t know exactly where you would be adding a CTA button on your site. Especially the beginners, who will add buttons everywhere on their webpage. This will distract users and they will be clicking unknowingly to redirect to another webpage.
A CTA button should be carefully used and added only to those locations where needed. You can add a button on your webpage sidebar for promoting an ad or on popups to signup newsletters. Some of the real-world live examples that you can find adding a CTA are Netflix, Facebook, Twitter, and many more.
Adding a CTA button in 3 easy steps.
Since we have learned about what is a call to action button and why it is necessary on your website it is time for you to create a CTA button. We will be creating a CTA button in 3 easy steps.
The first step is an easy step where you can easily add a button using the Gutenberg editor. It has a built-in button feature that you can add to your pages and post.
The second step is a little tricky; if you are unfamiliar with the Gutenberg editor, you can use Classic editor. Here you need to use HTML/CSS to design your own button.
The final step is you can use a plugin where you can add buttons to your site. So, without further ado let’s check out the 3 simple steps where you can add a call to action button on your WordPress site.
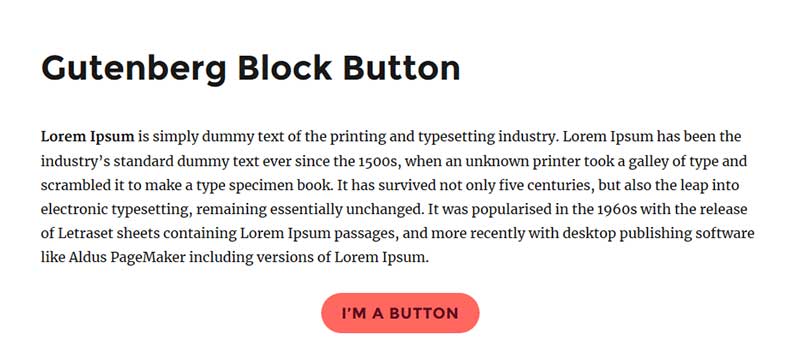
Adding a CTA using Gutenberg Editor
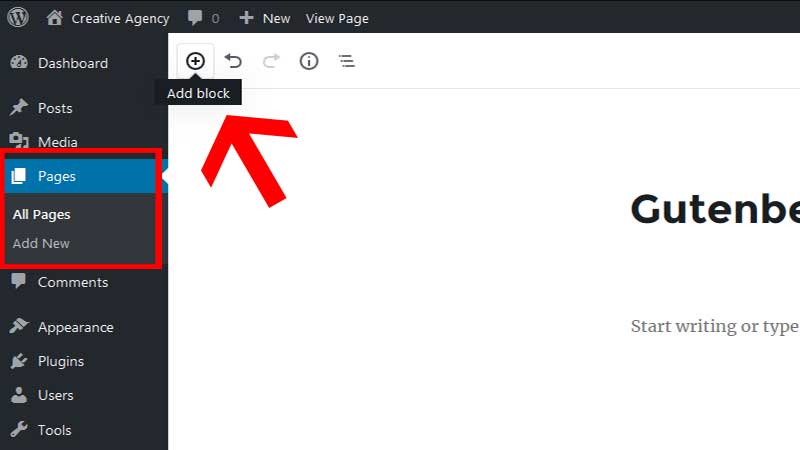
As mentioned this method is simple for those who are using Gutenberg Editor. If you are creating CTA for pages you can navigate to Pages >> Add New link.
You can add the title of your page and then click on the Block Editor to add a new clock by clicking on the “+” icon. This will show you all the Gutenberg elements on the Gutenberg editor.
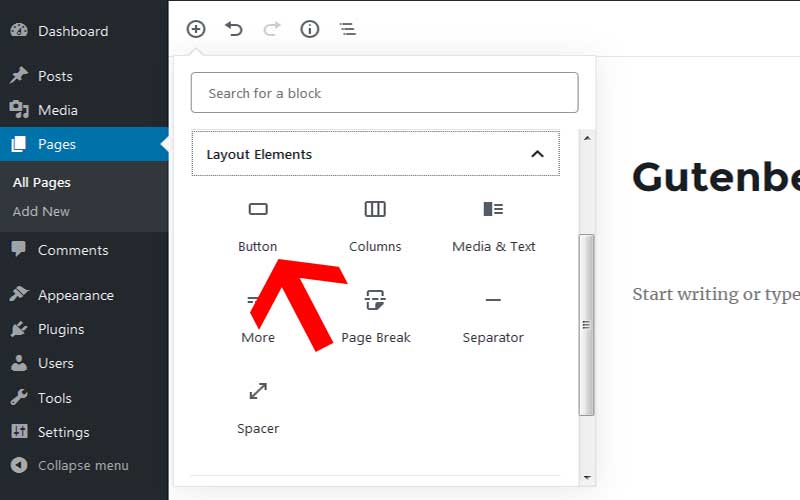
You need to find the layout elements where you will find the button block. After that, click on the button block and it will get added on your page content.
Next, click on the Add Text and add your button next to get shown on your site. Below you will find the text field where you need to add the URL to navigate the user to that relevant link.

Once you add that you need to click on apply and hit publish to save the changes. That’s it you have created your first CTA button in minutes.
Now, if you need to customize your button color then you can easily change it from the right-hand side of the editor panel. You can change the button background color, text color, and style of the button. You can change your button style to keep it as default, outline or show it in a square.
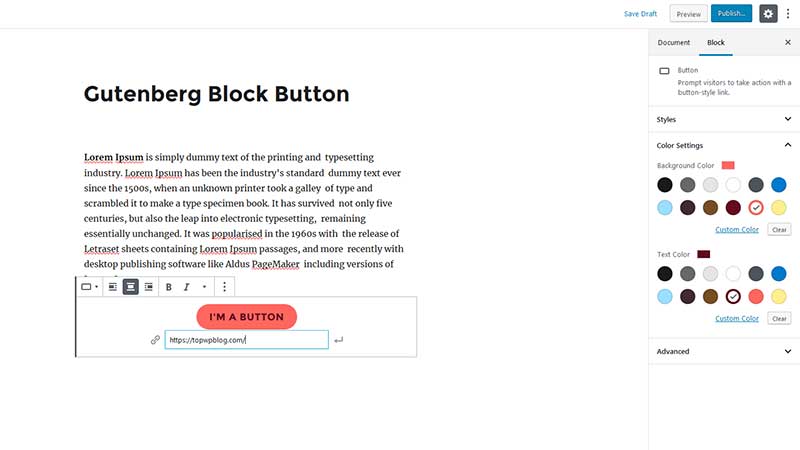
If you need to change the color of the button background and text you can do that as well. Furthermore, you can add your own custom color code by clicking the custom color link and add the color code. Finally, after making those changes you can hit the update button and your changes will get saved.
You can see the changes on the front end of your webpage.
Creating a CTA button in Classic Editor
Some people still prefer the old classic editor format instead of the Gutenberg Block Editor. So, if you are familiar with the old classic editor then you can add a button as well in classic editor. But here is the catch you need to write your own HTML to add a button and CSS to design the button with colors and stuff.
You can navigate to Pages >> Add New and add the below code to the content editor to make a simple button on your page.
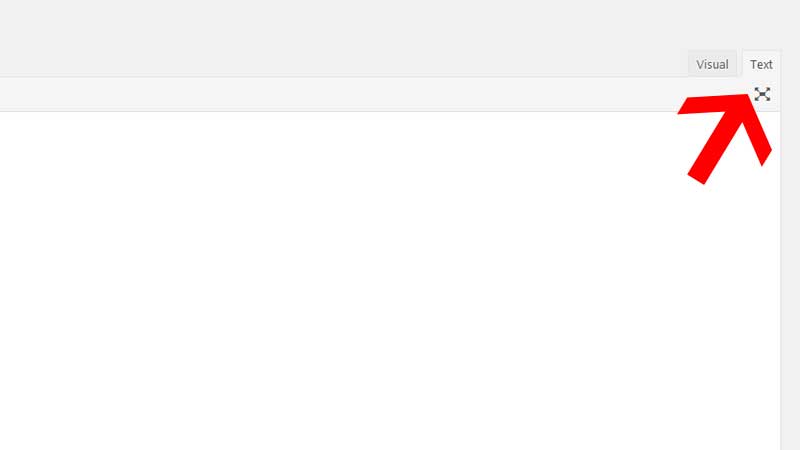
But before adding the code you need to make sure that the editor is in TEXT mode not Visual mode. The HTML code can only get added to the TEXT mode.
<button type=”button”>I m a Button</button>
Click on Publish and see on the front end. But wait, why isn’t it doing anything when I click the button. The reason is that you have only created a button if you need to navigate that button on another URL then you need to add an anchor tag. Check the below code and try again.
<button type=”button”><a href=”#”>Click Me!</a></button>
Instead of “#” try adding any URL and check. See the button is redirecting where you need to navigate. Now, you have done the HTML part let’s try some CSS to customize the button.
If you need to customize your button by changing the color of the button or text color then you need to apply some CSS to make that happen.
If you need to change the button color you can use the below code here
<button style=” background: green;” type=” button”><a style=” color: white;” href=”#”>I m a Button!</a></button>
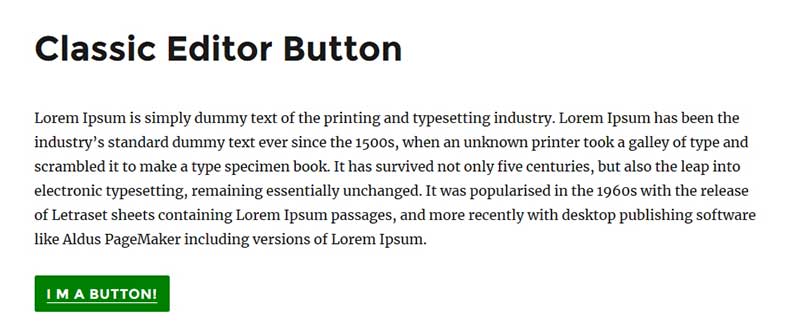
The code will change the background color and the text color of your button.
Add a call to action button using the plugin
If you don’t want to write manual HTML code or CSS then you can follow this final method to create a button. In this final step, you can add Forget about Shortcode Button plugin to add a CTA button. The plugin is easy to use and does not need any coding skills to create a call to action button on your webpage.
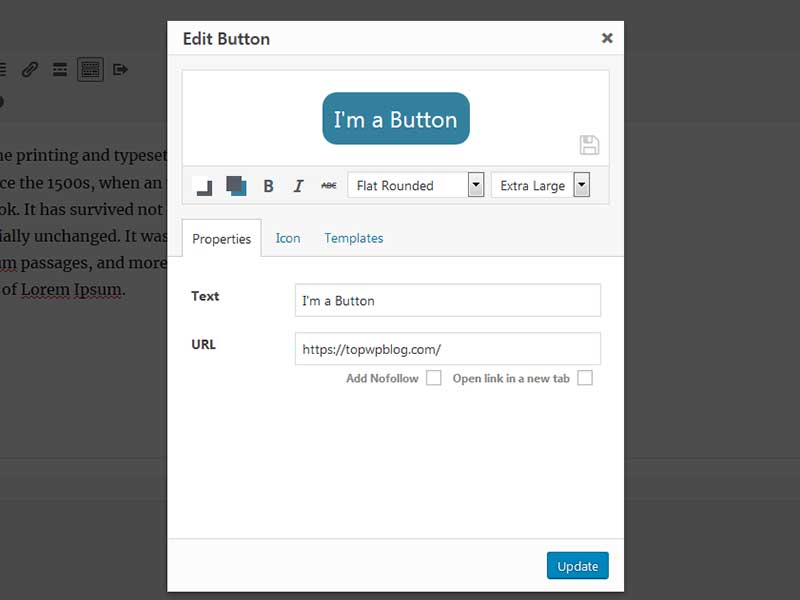
This plugin will work on the Classic editor if you don’t want to use the Gutenberg Block editor on your site. You can find a new button on the Visual Editor to insert a button. Once you click on that you see a popup to add the button text and the URL to redirect the button link.
The plugin has many cool features like if you need to have a no-follow link and open the link on another tab. Furthermore, you can add the icon on the button whichever suits your needs. Moreover, you can change the background color of the button and text as per your requirements. You can see what type of button you need whether it’s flat, rounded, or pop-out.
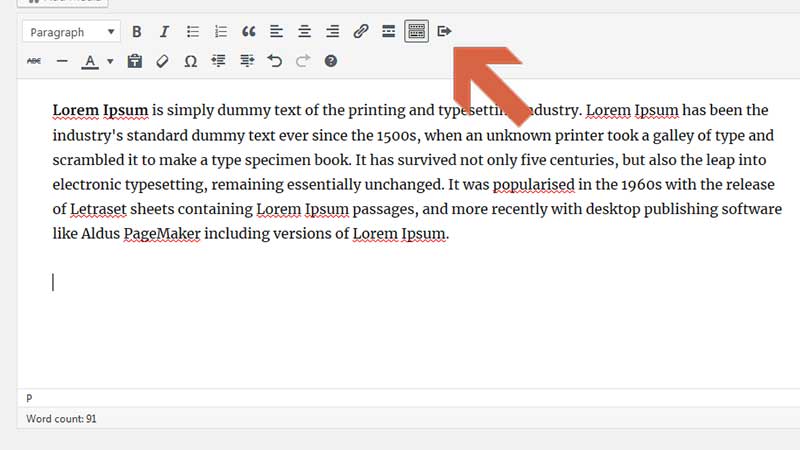
After making all the changes you can hit publish and save the changes that you have done for the button. You can view the button on the front end of your site and check if it works or not. Finally, if you need to have the button aligned in the center you can click on the button and you can change the alignment located on the classic editor toolbar.
![]()
You can re-edit the button simply by double-clicking the button and the pop-up will appear again. Using this plugin you can easily create a call to action button on your WordPress site. You don’t need to write extra codes or customize them to fulfill your needs.
Conclusion
I hope you have understood how you can create a call to action button on your WordPress site. If you are new to WordPress then you should know that WordPress is easy to use and you can create anything with WordPress.
Now over to you,
Did you create your own CTA button on your site?
Which method do you prefer and is easy for creating a CTA button?
I would love to hear from you. Please let us know your thoughts and please follow our Facebook and Twitter for more updates.